How To Change Your Crosshair In Overwatch 2
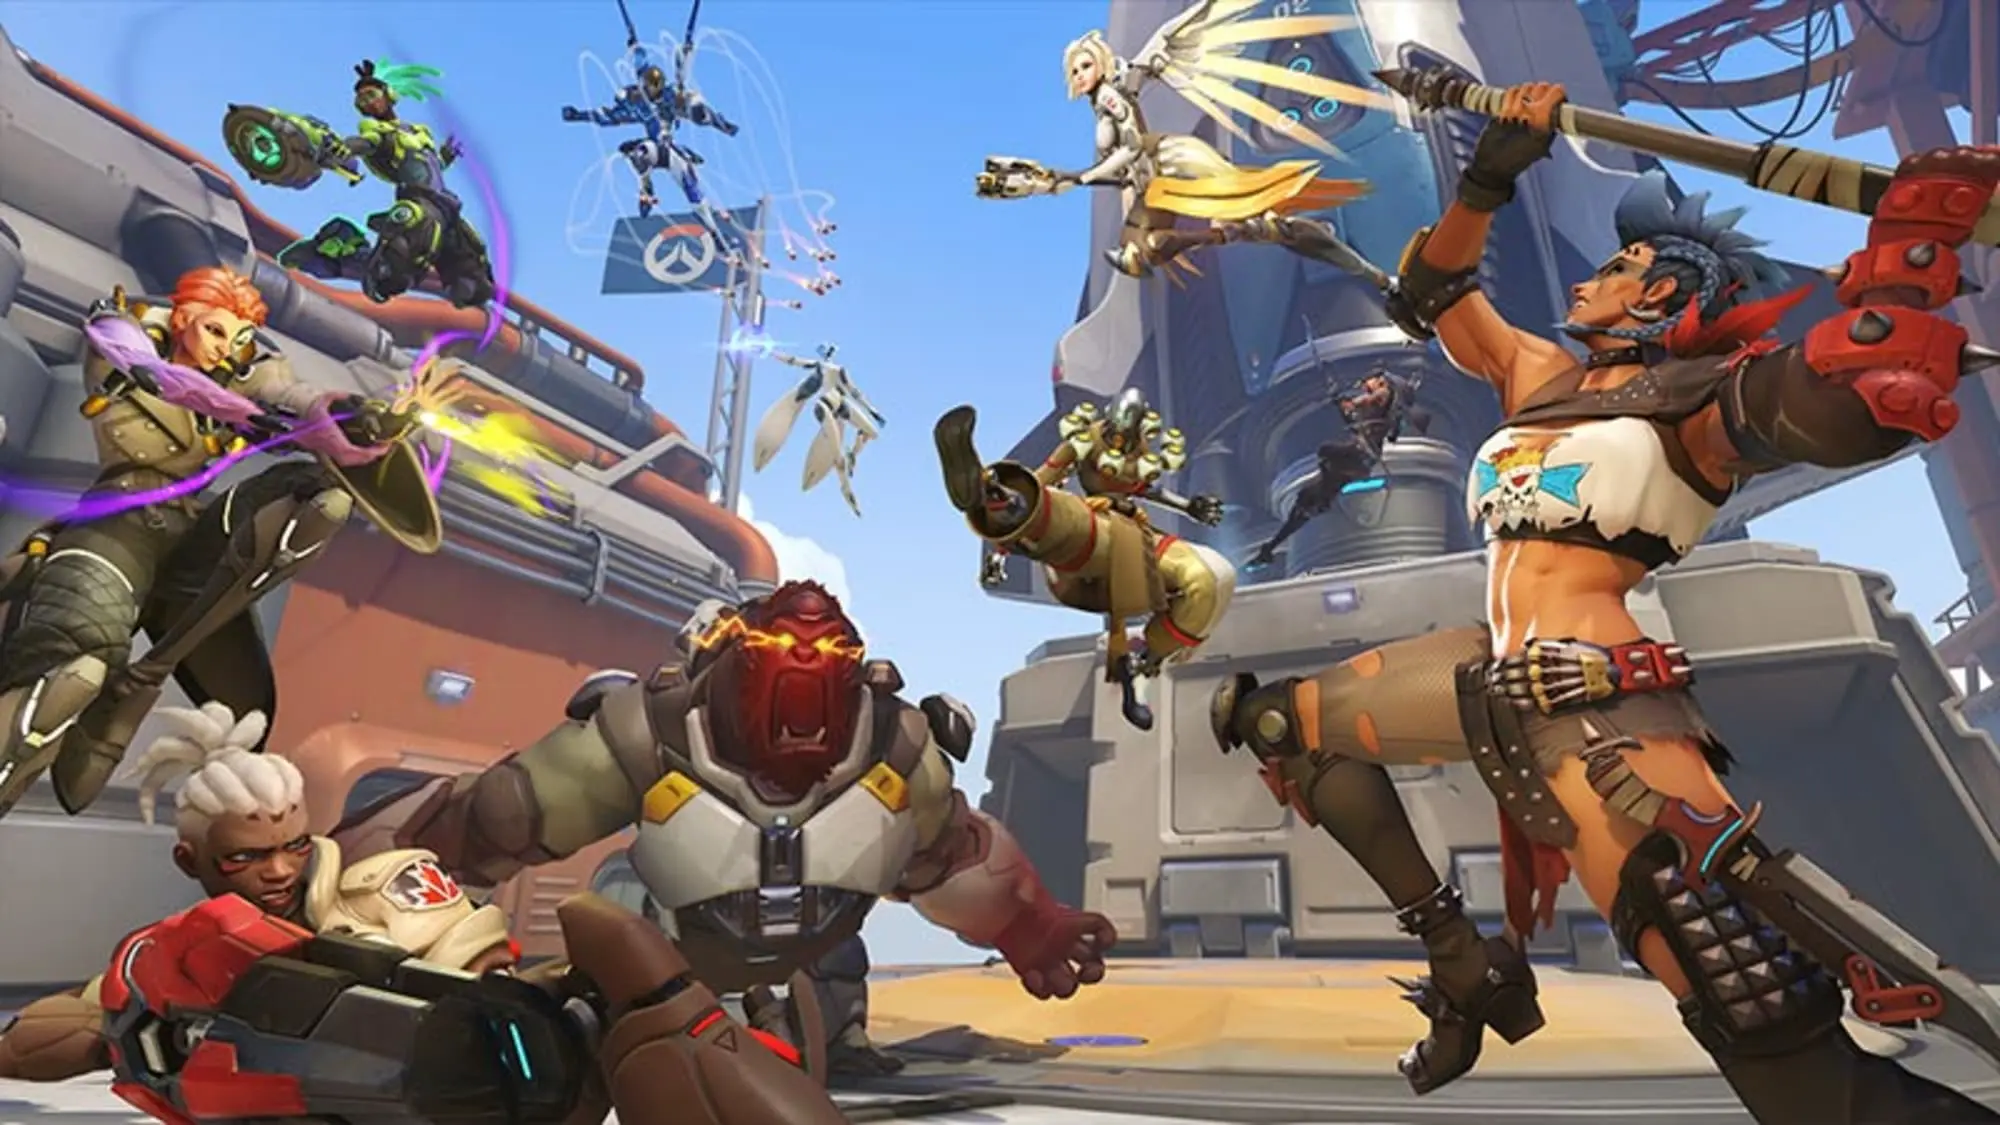
The Overwatch series is one of the best among many first-person shooter games. The players in the game are grouped into two teams. There are about 35 characters having unique and distinctive skills. And from those 35 characters, the player must choose a “Hero” to proceed with the game. There are a significant number of matches for the players which mostly focus on Player-versus-Player mode.
The players of the two teams are further distinguished into classes known as the Damage Class, Support Class, and Tank Class. Among those, the Damage class is required for offensive efforts. The Support class, as the name suggests, provides support with healing or regenerating and the Tank Class protects the team.
It’s not a difficult process to change your Crosshair in Overwatch 2 and to achieve it, you must click on Esc first, go to Options> Controls> General and then click on Reticle to change your crosshair settings.
If you want to know the details to follow these steps, then keep reading to understand better the Crosshair Settings and how to change your Crosshair in Overwatch 2
Also Read: 7 Great Games Like Animal Crossing For Xbox
How To Change Your Crosshair In Overwatch 2
Every Hero in the game is provided with their own crosshair that can be used for various weapons. However, the game also offers the option to change or customize the crosshair. So, if the default crosshair is not to your liking and you need to change it then you must go through the steps mentioned below.
Following are the steps to answer your question on how to change your crosshair in Overwatch 2
- Press the Esc button and the Menu will pop up with settings.
- Go through the Menu and click on Options.
- Among the options available, look for and tap Controls.
- The options will now be available on the left side of the screen, click on General in those options.
- It reveals the Reticle section beneath where you can find the crosshair settings
- There you can select the shape or size of your desired Crosshair.
How To Customize Your Crosshair In Overwatch 2
After you are successful in changing your Crosshair and want to know about the customization process, then the following details will be helpful for you.
The game provides various types of Crosshairs. These are:
- The Default Crosshair which is the game’s standard Crosshair and available since the beginning.
- The Circle Crosshair which changes your default crosshair into a small circle.
- Crosshairs, the cross-shaped one present in many shooter games
- Circle and Crosshairs which is exactly what the name suggests, circle, crosshairs, and dots combined together.
- Dot, just a dot.
Following are the steps to customize your Crosshair in Overwatch 2
In the Reticle settings, go to the Advanced option and it will reveal about ten options to customize your crosshair. Choose from the options on what aspect you want to change or customize according to your will.
- The SHOW ACCURACY option which you can choose to keep On or Off.
- The COLOR option to customize the color of your reticle.
- The THICKNESS option to adjust the circle and crosshair.
- The CROSSHAIR LENGTH for the size purpose.
- The CENTER GAP adjustment.
- The OUTLINE CAPACITY for your reticle.
- The DOT SIZE to change the size of the Dot reticle or the others.
- The DOT OPACITY adjustment.
- The SCALE WITH RESOLUTION ON or OFF.
Also Read: Games Like Scorn – To Provide You The Thrill
Wrap Up
Overwatch 2, with its amazing storyline and gameplay, allows the players to customize various elements in the game. Crosshair is one of them. But not everyone is aware of the settings which will let you accomplish this task.
Follow the above-mentioned instructions carefully and you will be able to change or customize your crosshair easily in your favorite game Overwatch 2.

